An Early Project in Gurgaon with Tips to Hang Wall Art
A question we get asked often is ‘How to hang wall art well ?’ This can be a somewhat daunting task, particularly when creating a gallery wall. The home featured here in Gurgaon was decorated 6 years ago and we’re using its art placements to guide you through decorating your walls.
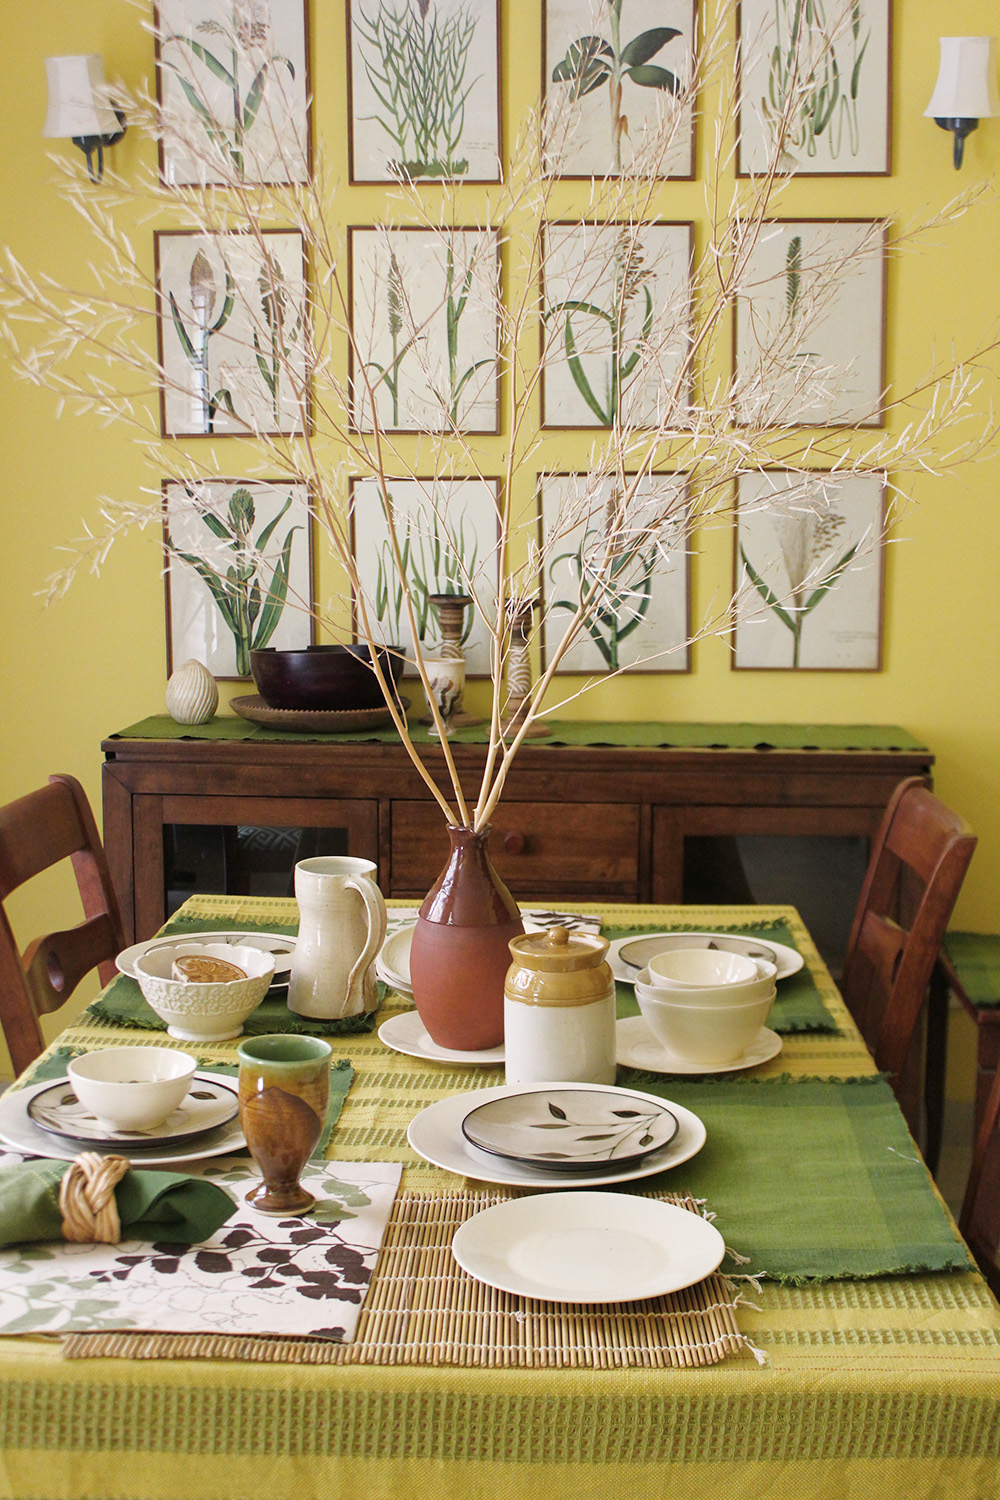
DINING ROOM – THE GRID
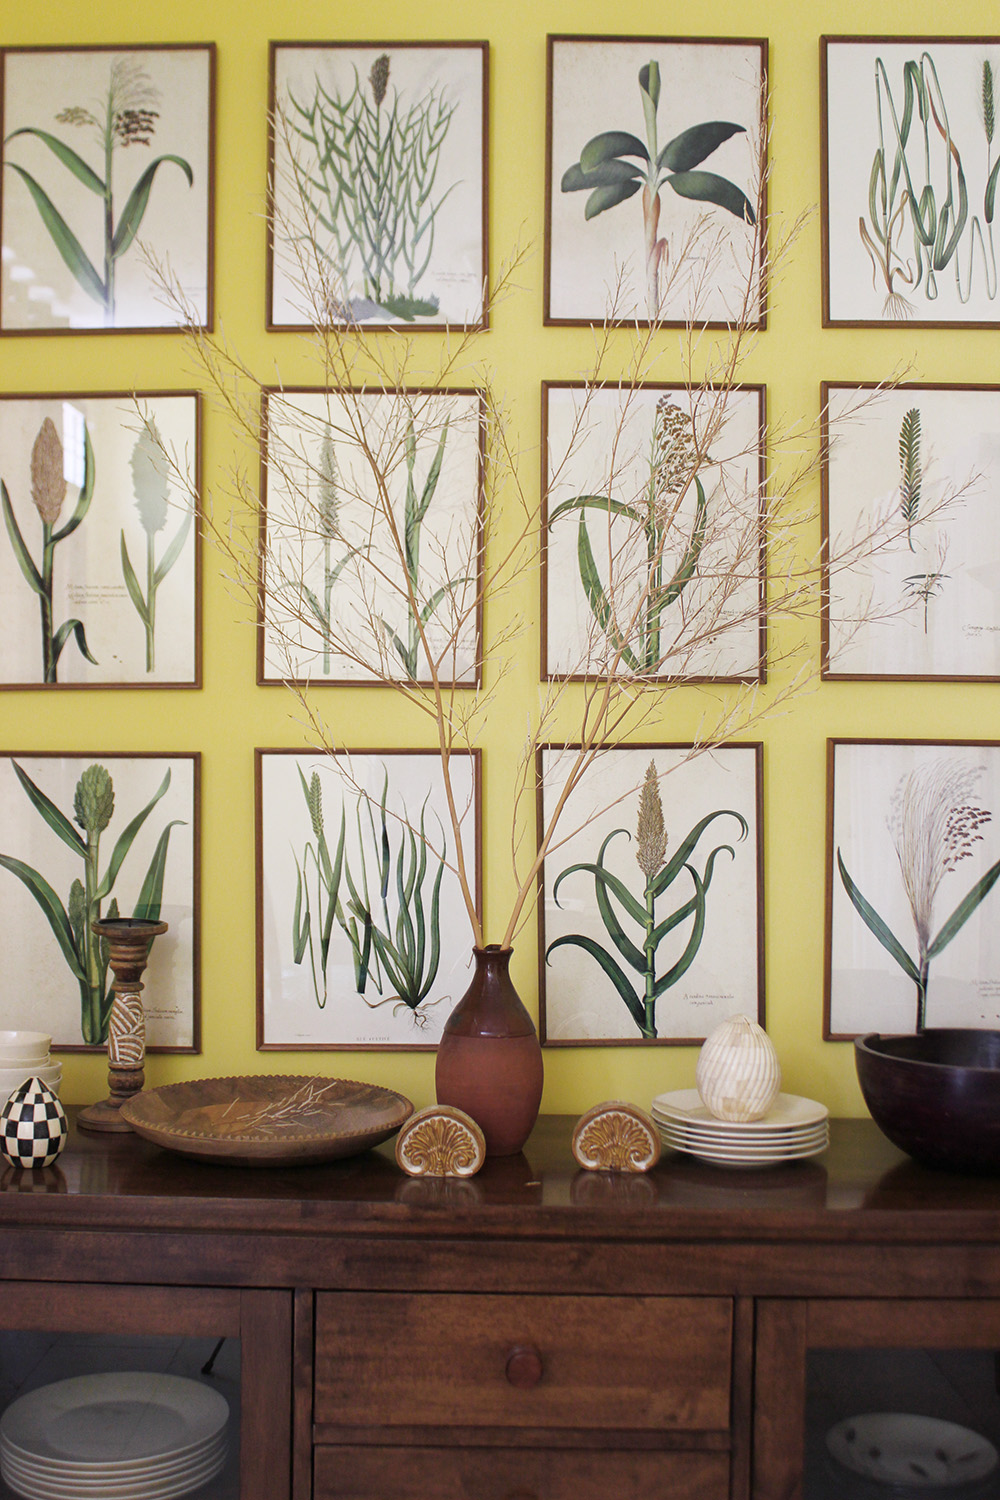
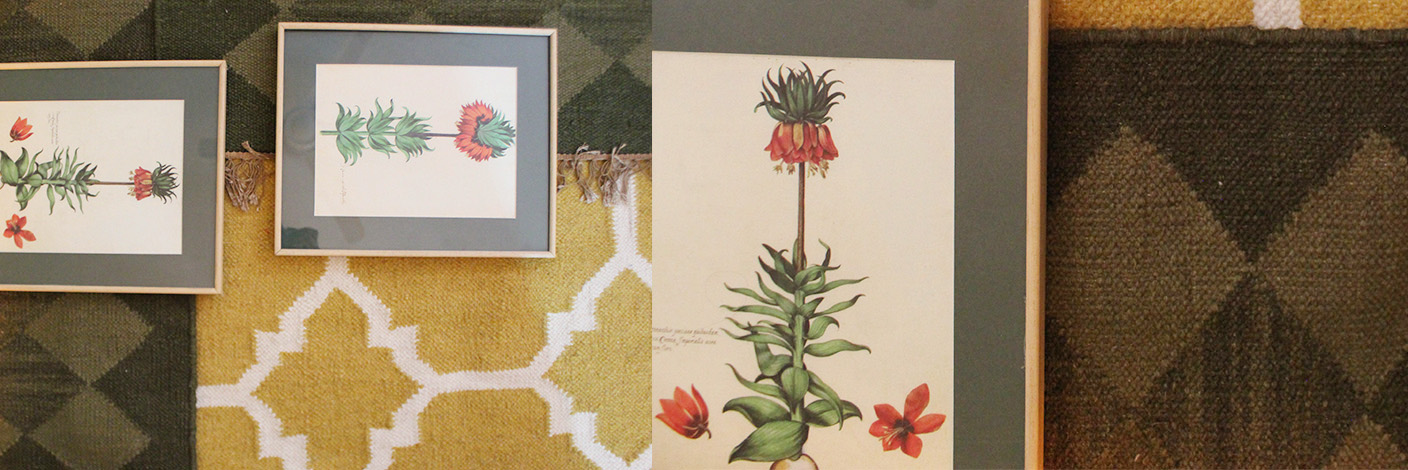
This dining room required the placement of twelve identically sized prints. These prints of grass and grain were all vertically aligned and the easiest way for us to place the art was in a grid. A grid lends itself easily to art that is of the same size and worked well here. Each picture was placed equidistant from the other and in between the wall lights, starting at around 6 inches from the top of the furniture. This would be a good arrangement for you to follow if you have identically sized art. Start at around 6-7″ from the top of your piece of furniture and leave the same measurement of space at the edges of the grid. Make sure the distance between all the images is identical. If your wall allows the space, you could mount the pictures in coloured fabric mounts, available easily at many Indian framers or give the framer your own fabric for the mount.
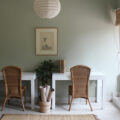
LIVING ROOM – GALLERY
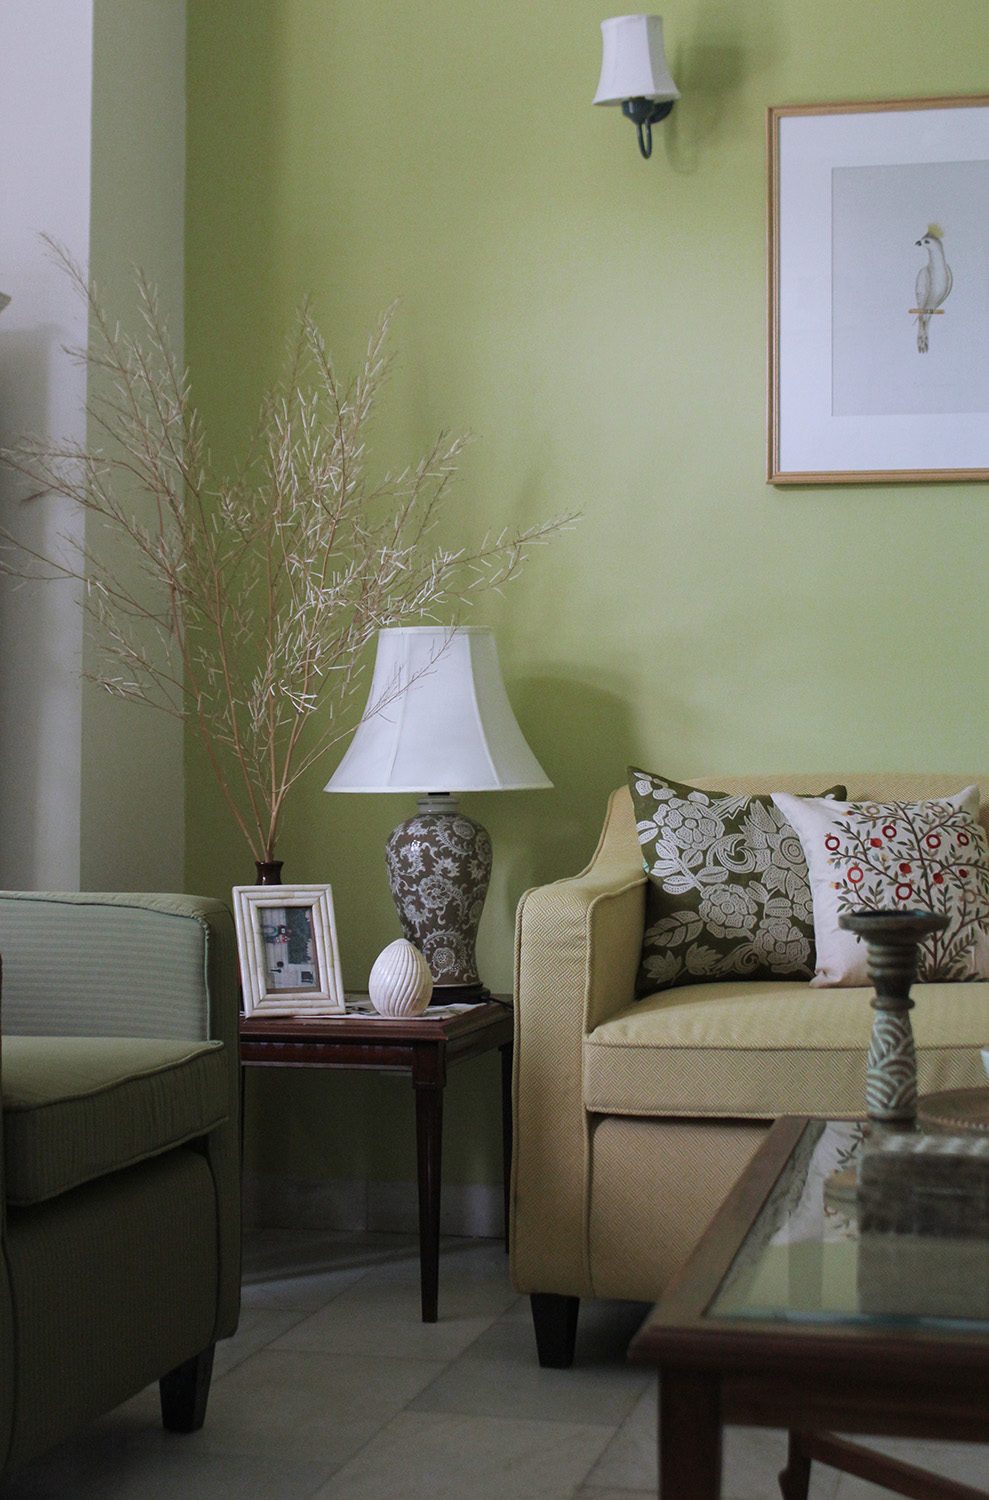
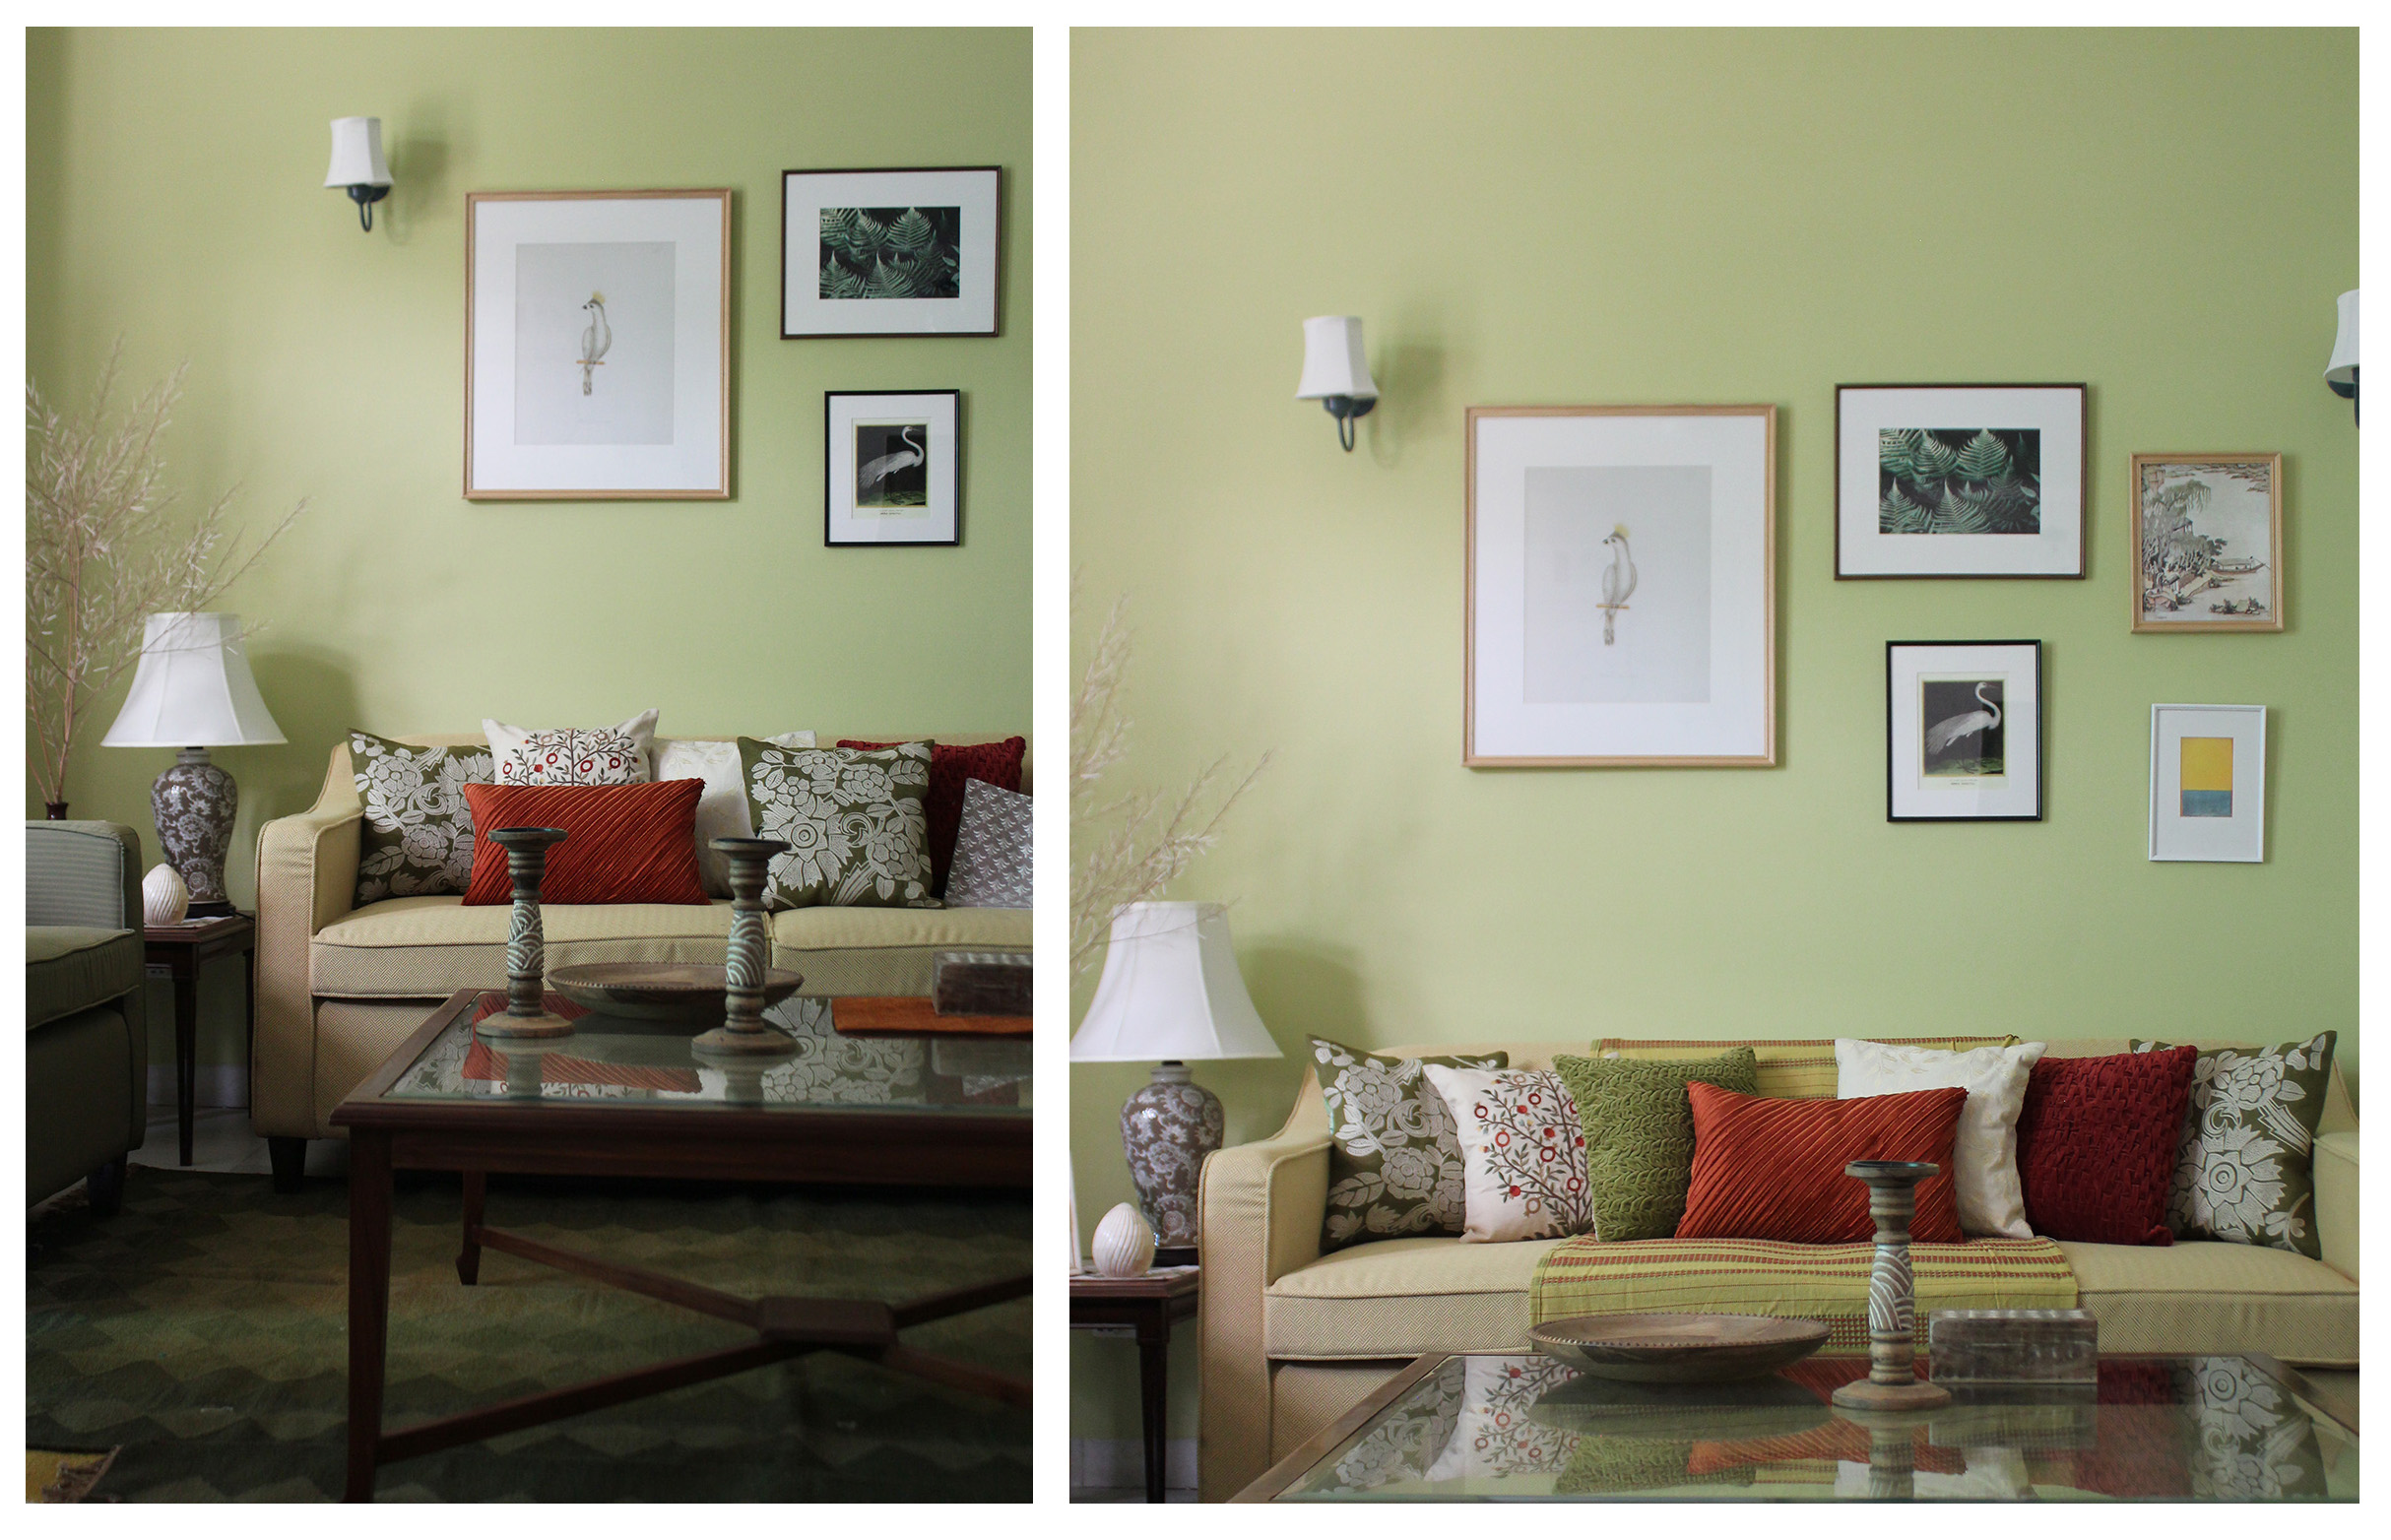
An assortment of 5 different sized and aligned pictures make the arrangement here, making this a ‘gallery wall’. A gallery wall is a display of multiple framed artworks, photographs, posters and prints on one wall. There is harmony to a well done gallery wall, even when the artwork used is varied in style, size and shape. Here we began by placing the largest picture first, starting at 10″ from the top of the sofa. In hindsight, we might’ve placed it lower, but the arrangement balances itself out with the smallest picture (on the extreme left) being placed at a lower level than the others. If you’re choosing to create a gallery wall, it would be good to start at 7-8″ above your piece of furniture. A foolproof way of creating a gallery wall is to cut out the sizes of your art on a sheet of old newspaper and stick them on the wall to see how best they fit. Once you’ve found a good balance, nail your art in place of the paper. We’ve kept the distance between these pictures at 4-5″ each. It’s a good idea to keep the distance between each piece of art somewhat equal.
If you’d still like help with your galley walls, email [email protected] for a consultation.
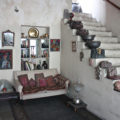
STAIRCASE – SYMMETRY
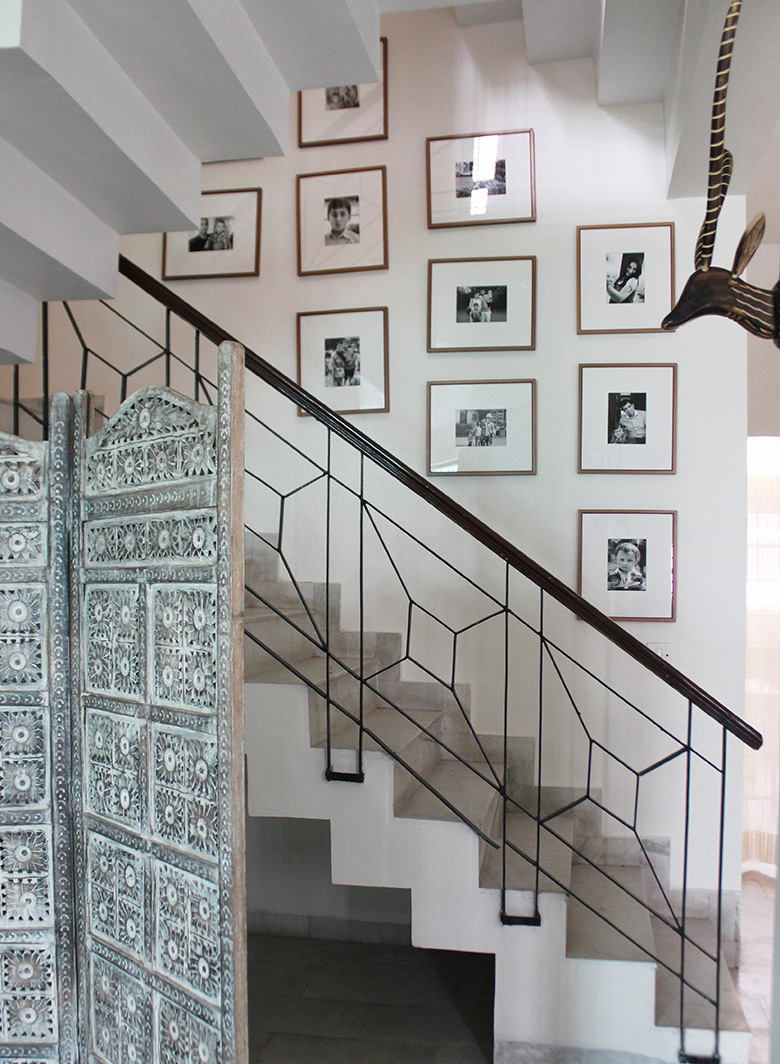
The requirement in this area of the house was for family photographs to be displayed along the staircase. The photographs our client choose were of different alignments and sizes which could have clashed with our ongoing colour scheme for the house. They were also the first thing the eye caught upon entering the house. To solve these problems we reprinted the photographs in black and white and to a standard size. They were then mounted on a white paper mount and framed in wood. This helped give feeling of uniformity and also balanced the different colours in the house quite well.
For the placement of these framed photographs, we started with the bottom stair and 6″ away from the edge of the wall. The first photograph, a vertically aligned one, was placed around 3″ from a switch plate and around 3′ from the tread of the stair followed by two more above it. The rule of thumb is to start at 60″ from the tread, but we were restricted from doing this by the design of the staircase. We then placed the horizontal photographs at a distance of 4″ to the first column of vertical photographs and went along placing the photos at equal distances until we reached the end of the staircase.
If you’re designing a staircase wall, keep in mind the design of your staircase, rather than borrowing a rule from the internet that may not work for your house. It is usually good to start placing art at the level of the handrail or at 2″ higher. Keep in mind the that the distance between each photograph should be similar and that it’s usually best to cover the entire length of the stair case with art.